Our country pages
Europe
Search
Order a sample
You can order up to 3 free sample tiles.
We'll aim to deliver your sample order within 5-7 working days from your order date.
How to install cold-applied liquid roofing
How to install cold-applied liquid roofing
Cold-applied liquid membrane roofing systems have grown in popularity over recent decades, owing largely to their safety benefits due to their flame-free installation. To get the most out of your liquid membrane roofing system there are a few things to consider before, during, and after installation.
This guide will explain how to install a new cold-applied liquid membrane system, so that it provides a long-lasting* solution. Following the appropriate manufacturer training, detailed application guidance can be found in the installation guide for your chosen cold- applied liquid system or speak to Icopal’s Technical Services team.
What is cold-applied liquid membrane roofing?
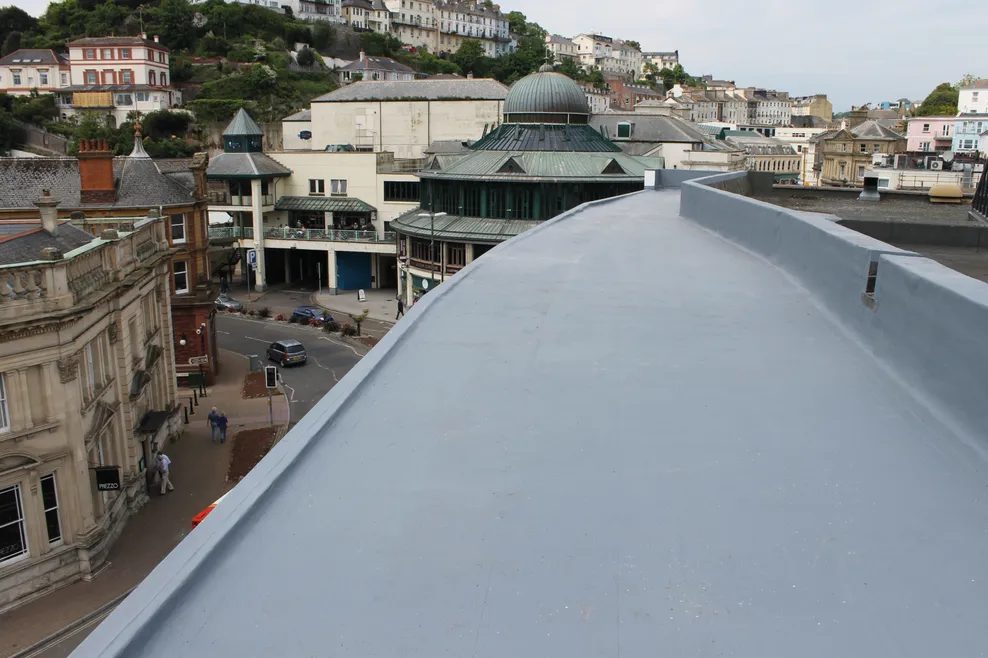
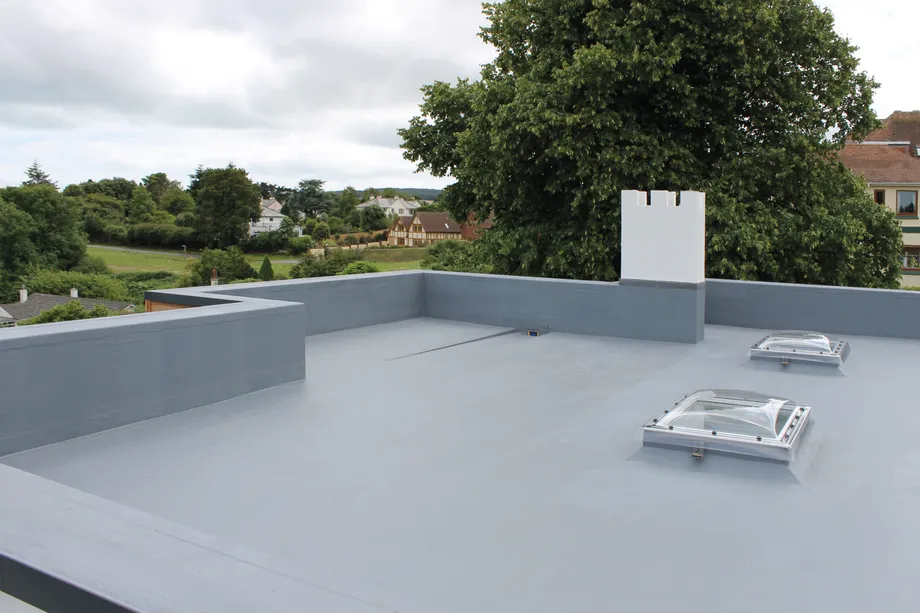
Cold-applied liquid roofing is a liquid system used for waterproofing flat roofs. Cold-applied liquid membrane roofing involves the application of a liquid resin in multiple layers which cures to form a fully bonded roof waterproofing membrane.
Built up of layers including a primer, base coat, reinforcement material and top coat, liquid applied membrane roofing bonds securely to the substrate. Installation should only commence once the substrate has been suitably prepared, this is a vital step in the process.
As a versatile roofing membrane, systems can be applied to a wide variety of substrates including bitumen, OSB/plywood and concrete which, subject to the correct selection of the appropriate primer, makes them suitable for both new build and refurbishment projects.
Examples of technologies within a liquid roofing system include:
- Polyurethane (PU)
- Polymethyl Methacrylate (PMMA)
- Glass reinforced plastic (GRP)
Jump to section
What are the advantages of cold-applied liquid membrane roofing?
There are a variety of reasons why specifiers and roofing installers choose to use cold-applied liquid membrane roofing systems such as Icopal’s Sealoflex range on their construction projects, rather than alternative methods. These include:
Safety and Efficiency
Liquid membrane roofing systems, such as Sealoflex, can offer enhanced safety and practicality, particularly for live-site installations. Sealoflex Ultima requires no torch application, making it safer and easier to install in sensitive environments. Its flame-free, solvent-free, low-odour, and 100% non-hazardous waterproof coating minimises disruption, ensuring operations continue smoothly in settings like hospitals, schools, shopping centres, and residential homes.
Durability
The ‘wet-on-wet’ application ability of the Icopal Sealoflex range allows for a strong and durable* installation when applying the base coat, reinforcing fabric and top coat while still wet, ultimately resulting in a waterproofing membrane that has a high interlaminary cohesive strength - so all the layers of the membrane cure as one.
Adaptability
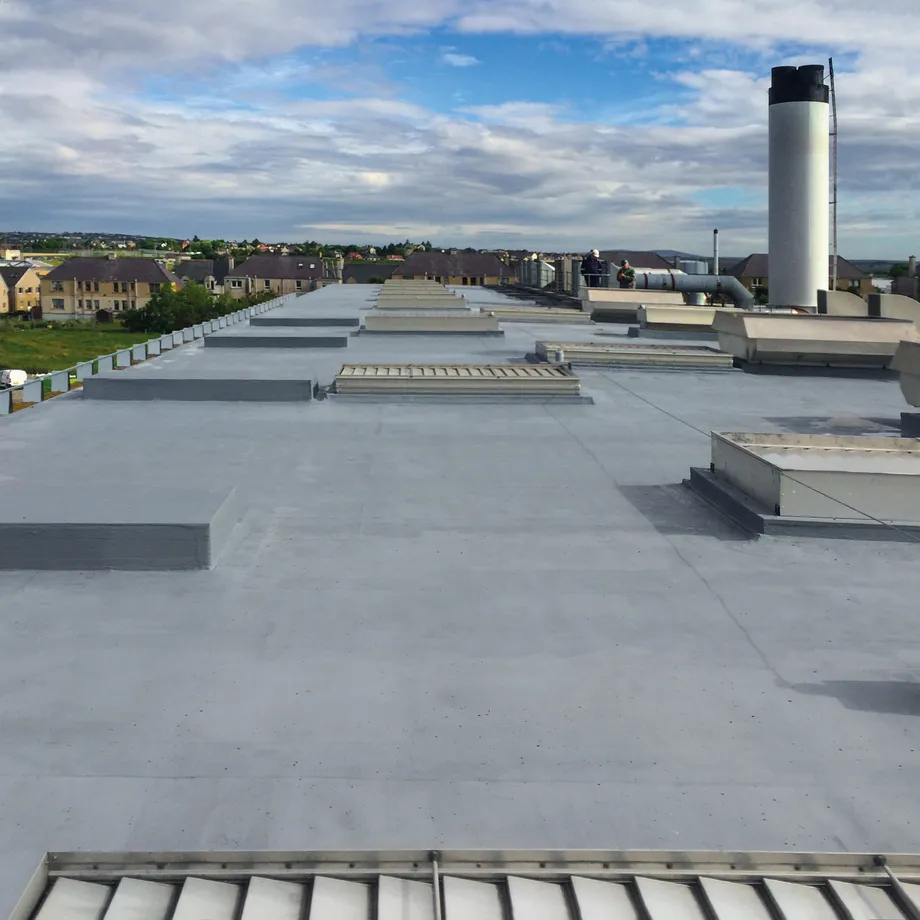
The liquid nature of the modified PU system means that it can adapt to many different roof shapes and sizes and roofs that feature pipe work, plants and machinery and other complex geometries. This allows specifiers, architects, and roofing installers to make use of liquid roofing systems for many of their projects, bringing complex visions to life without compromising performance.
The installation process
The installation process
The recommended application steps should be followed properly to ensure you get the most out of the system. Always refer to the specific system manufacturer’s installation instructions for detailed information on installing the liquid membrane system.
Step 1. Safety checks and precautions
Firstly, you must ensure that you have all the necessary PPE as described in the respective system manufacturer’s Installation Guidelines
You should also gather all the tools you need for the job in a safe space including any rollers, brushes, sprayers, cleaning agents and primers. At this point, it is also worth reviewing the installation guide closely, paying particular attention to key characteristics such as curing times and ambient weather conditions to support the installation.
Step 2. Inspect the area and prepare the deck
Step 2. Inspect the area and prepare the deck
Once all necessary safety precautions have been taken, it’s time to inspect the condition of the existing roof to identify any areas that require repair prior to application.
It’s important that all debris and surface contamination should be removed and cleaned from the area where installation is intended, cracks and holes should be filled in or fixed and the surface should be completely dry before application.
Priming is the next fundamental step prior to installing the waterproofing layer, as this will allow the proper and correct adherence onto the substrate and will allow the system to achieve its performance. By following the manufacturers guidelines on substrate priming, apply the respective primer onto the substrate (the primer may be roller or brush applied) at the required consumption rate.
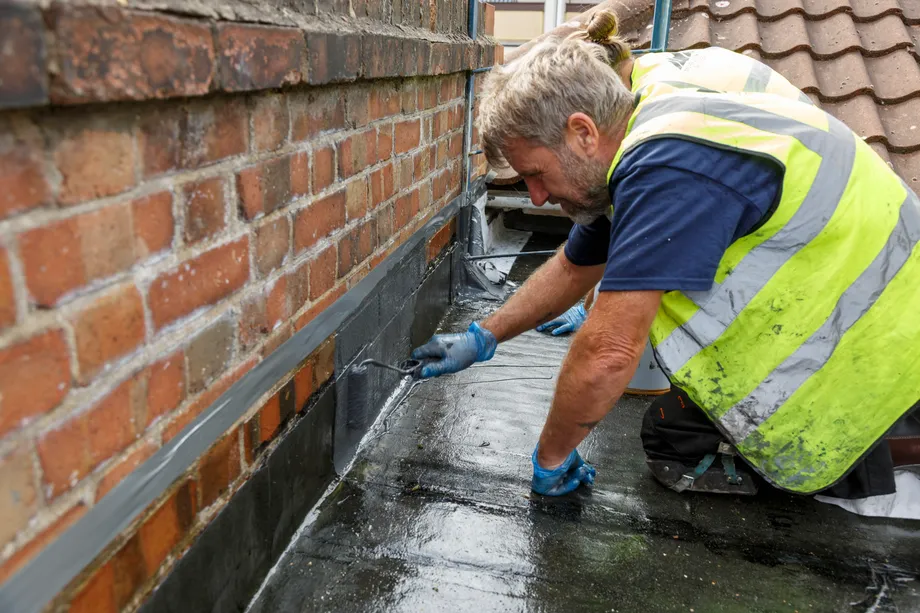
Step 3. Lay the first coat, also known as the embedment layer
Step 3. Lay the first coat, also known as the embedment layer
Please note, these are generic installation guidelines, ensure you fully follow the manufacturer's installation instructions and ensure the system is installed by trained operatives. All liquid waterproofing systems have specific and different installation conditions that need to be adhered to in order to ensure the correct installation of the system.
The Sealoflex systems are applied in a continuous sequence of base coat (embedment layer), fabric reinforcement and top coat. This process is referred to as ‘wet on wet’. When the system is cured it becomes a fully reinforced waterproofing membrane.
First prepare and apply a base coat of the waterproof coating using a brush or roller to the substrate at the required consumption rate
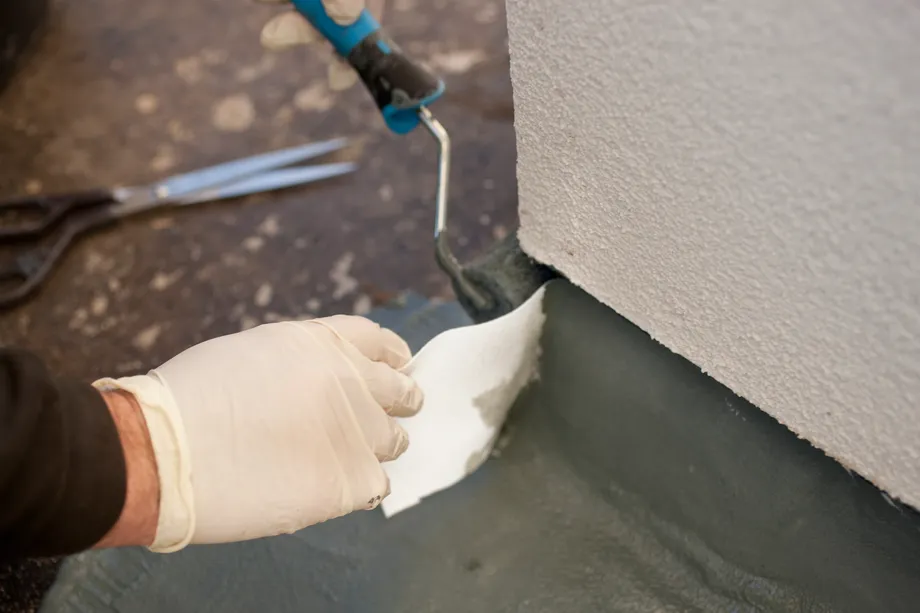
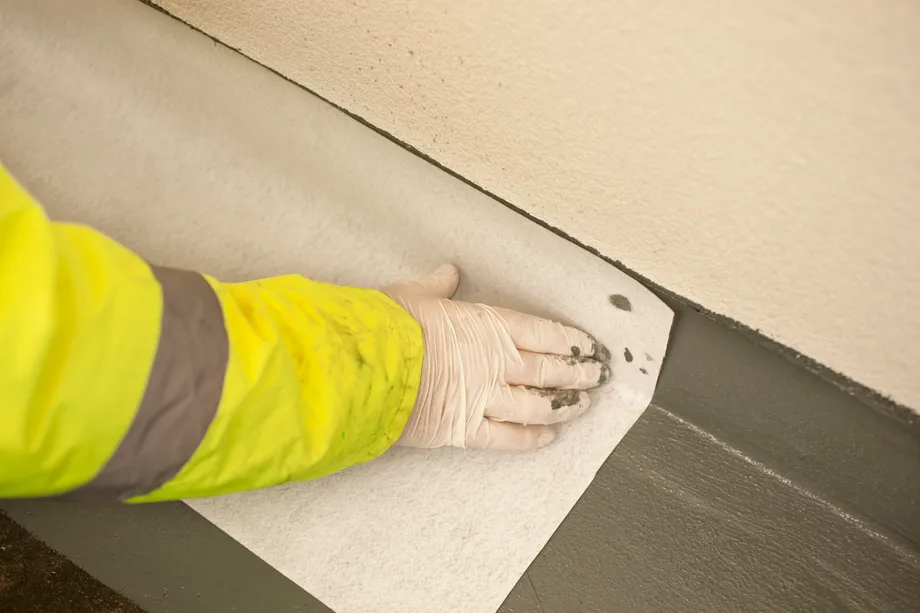
Step 4. Lay the reinforcement fabric
Step 4. Lay the reinforcement fabric
Place the reinforcing fabric into the wet base coat and apply a dry roller to draw the embedment layer through the reinforcing fabric, making sure there are no creases in the fabric and that no air is trapped beneath it. Also, follow the manufacturer's specified lap dimensions where lapping onto adjacent lengths of reinforcement.
For Sealoflex Ultima we require all overlaps of Sealoflex Reinforcing Fabric on field areas and details should be a minimum of 75 mm. Always ensure that there is sufficient coating between fabric overlaps and that no air is trapped within the overlap.
Step 5. Lay the top coat
Step 5. Lay the top coat
Apply a top coat of the waterproof coating to the saturated fabric at the required consumption or application rate to complete the system. Allow the system to cure and inspect.
Looking ahead to the future
Looking ahead to the future
The installation process of cold-applied liquid roofing can be quick and safe, allowing roofing installers to ensure their projects have efficient and durable waterproofing for years to come. For detailed installation guidance, we recommend you refer to the manufacturer’s installation guide
To make sure the right liquid waterproofing system is specified on your next project, use our liquid system selector tool. Or, if you have any further questions, don’t hesitate to get in touch.
*guarantees are available up to 15 years for the Sealoflex Ultima Standard system and 25 years for the Sealoflex Ultima Premium System. Guarantees are available for Sealoflex Endura Waterproofing System up to 20 years, Sealoflex Endura Walkway/Balcony up to 15 years and Endura Cantilevered Balconies up to 10 years.